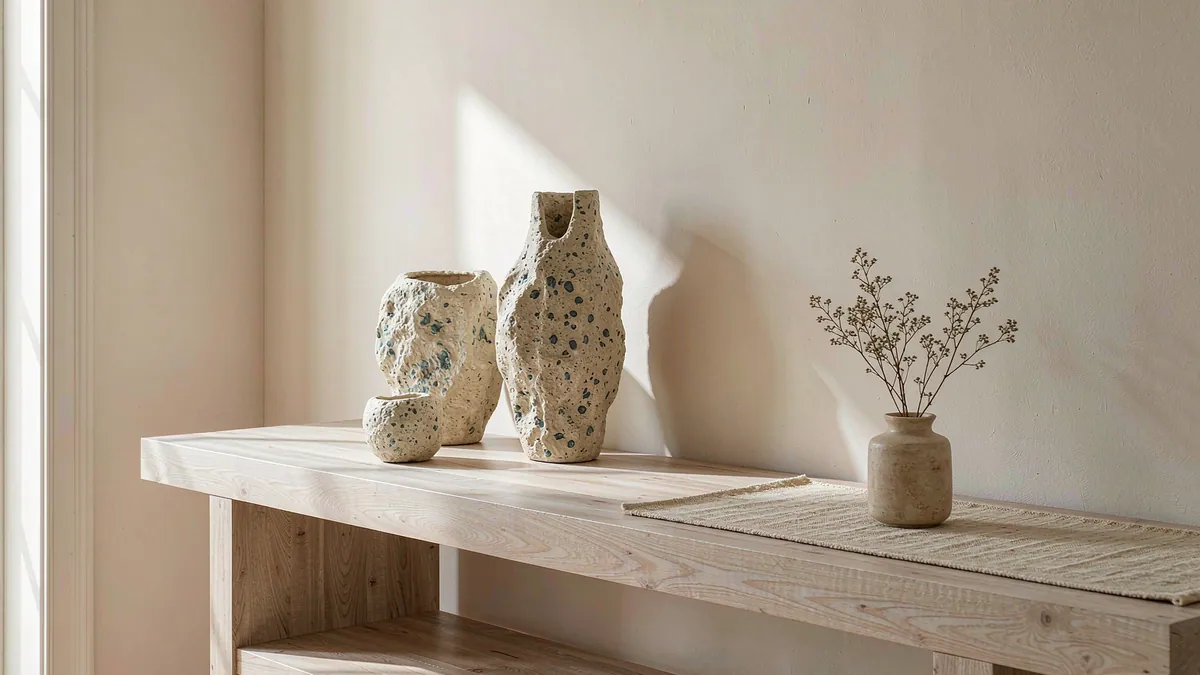
Every piece goes through the same five visible changes. Here is what each one looks like before and after.
1. Chalky and pale → sealed and saturated
Fresh gypsum dries to a flat, powdery white. Two thin coats of PU sealer deepen the colour by a step and stop dust lifting off the surface.
2. Rough rim → P2500 (2000-grit) edge
The mould line and any proud chips come off with a few passes of P2500 (2000-grit). The rim goes from sharp to soft in about two minutes.
3. Buried chips → a readable surface
Straight after pouring, the aggregate is sunk in slurry. As the piece sets and gets sanded, the chips surface and the pattern appears.
4. One colour → layered zones
Pouring the second colour four minutes later gives clean boundaries; dragging a skewer once through the seam turns them into a gradient.
5. Bare object → object in use
The last change is not on the piece itself: a finished tray by the door taking keys — the point where an experiment becomes something you use daily.